








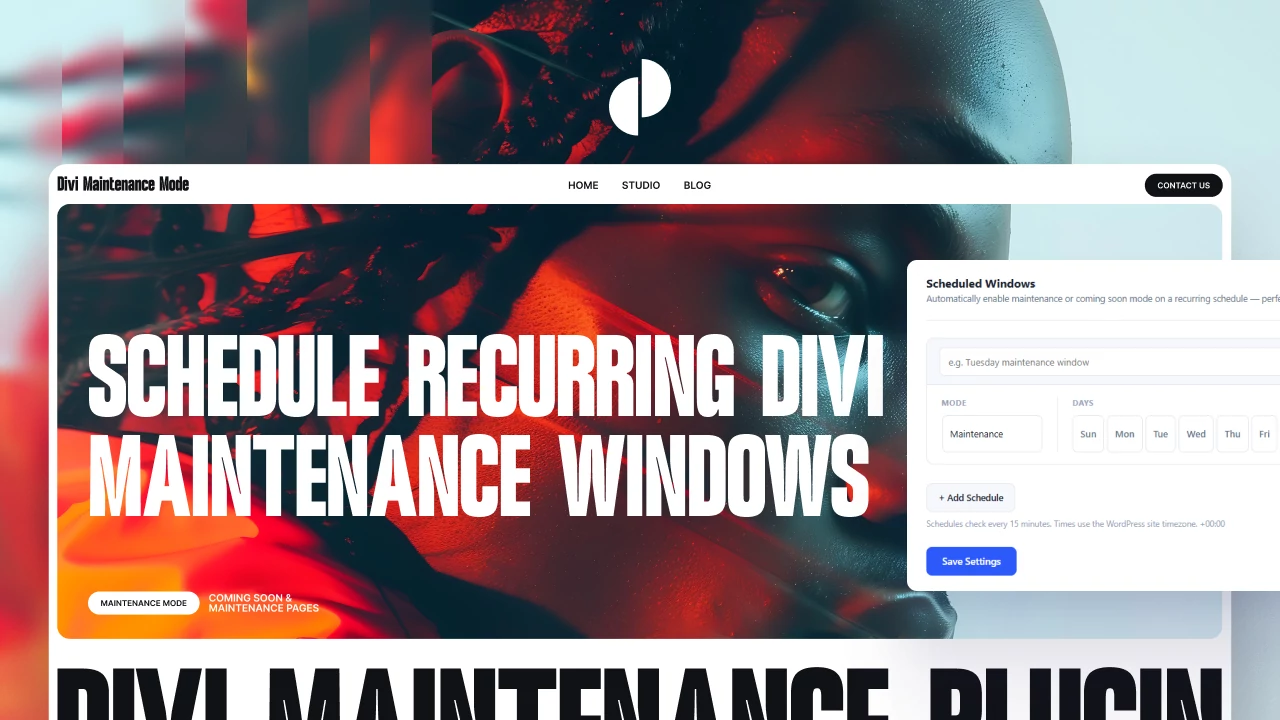
Running updates, deploying changes, or running backups on a Divi site usually means manually putting the site into maintenance mode first and then remembering to turn it off when you are done. Version 2.0 of Divi Maintenance Mode removes that manual step entirely.
The new Schedule tab lets you define recurring maintenance windows by day of the week and time. The plugin handles enabling and disabling automatically. Your team gets notified via email or Slack when a window starts and again when it ends.
How Scheduled Windows Work
A scheduled maintenance window consists of a set of days and a start and end time. When WP-Cron runs (every 15 minutes), the plugin checks whether the current time falls inside any active schedule. If it does and maintenance mode is not already on, the plugin enables it. When the time passes outside the window, maintenance mode is disabled automatically.
You can create multiple schedules. For example, you might have one window for Monday mornings when you deploy updates and a separate one for Sunday nights when backups run. Each schedule can be toggled on and off independently without deleting it.
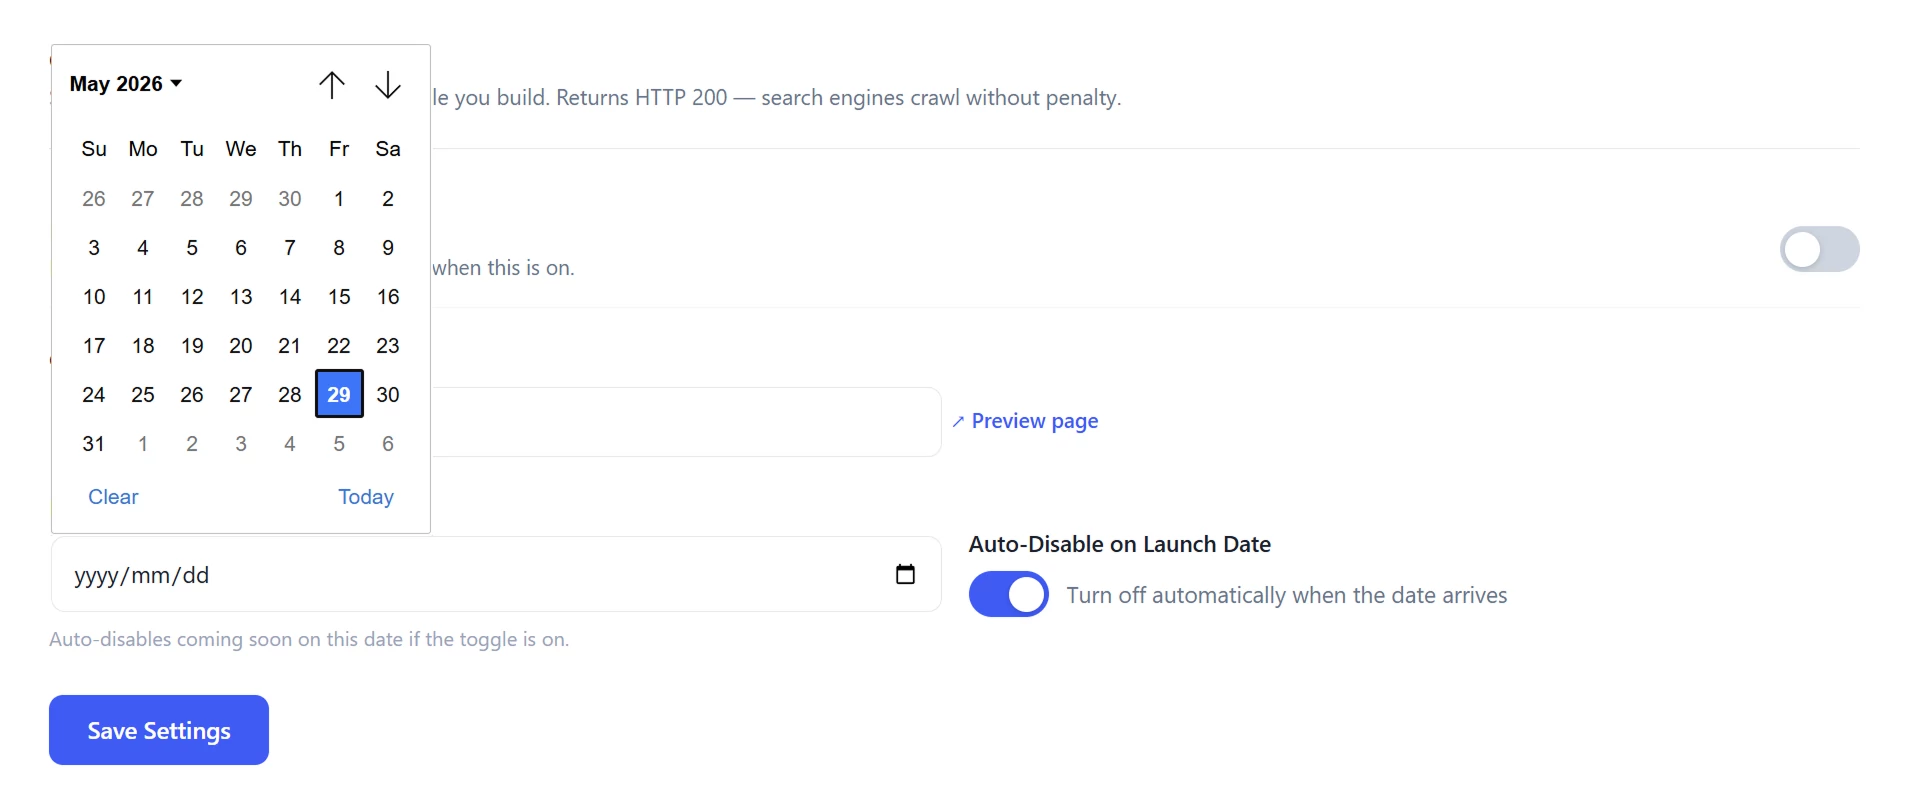
Creating a Scheduled Window
Here is the full process for setting up a recurring window.
- Go to DiviPerfect > Divi Maintenance Mode and open the Schedule tab.
- Click Add Schedule. A new schedule row appears.
- Tick the days of the week the window should run.
- Set the start time and end time. Times use your WordPress site timezone, which is set under Settings > General in WordPress.
- Make sure the enable toggle for this schedule is switched on.
- Click Save Settings.
The plugin checks schedules every 15 minutes using WP-Cron. This means a scheduled window may start or end up to 15 minutes after the time you specified, depending on when the last cron run happened. Plan your windows with a small buffer if timing is critical.

Team Notifications
Scheduled windows are most useful when your team knows when maintenance starts and ends. Version 2.0 includes two notification channels.
Email Notifications
Enter a comma-separated list of email addresses on the Notifications tab. When a mode is enabled — whether by a schedule or manually — an email is sent to every address on the list. A second email goes out when the mode is disabled. You can toggle on-enable and on-disable emails separately.
Slack Webhook Notifications
If your team uses Slack, enter your Slack incoming webhook URL on the Notifications tab. The plugin sends a message to your chosen Slack channel whenever a mode changes state. The message includes the mode name (maintenance or coming soon), the trigger (manual or scheduled), and a link directly to the plugin settings.
To create a Slack webhook URL: in your Slack workspace, go to api.slack.com/apps, create a new app, enable Incoming Webhooks, and copy the webhook URL for your chosen channel.
Combining Schedules With Manual Control
Scheduled windows and manual control work alongside each other without conflict. If you need to enable maintenance mode outside a scheduled window — for an emergency update or an unplanned deployment — you can do so from the main settings toggle. The schedule will still run as normal at its next window.
You can also disable a mode manually before its scheduled window ends if your maintenance finishes early. Notifications will fire for both the manual and the scheduled events.
Admin Bar Badge
When a mode is active, whether triggered by a schedule or manually, the WordPress admin bar shows a badge with the name of the active mode and a direct link to the plugin settings. This means you or anyone on your team with admin access can see at a glance whether the site is currently in maintenance without navigating to the settings page.
How to Get Version 2.0
Divi Maintenance Mode is available on the Divi Marketplace. If you are already running version 1.0.0, update through the WordPress dashboard — your settings will carry over automatically.